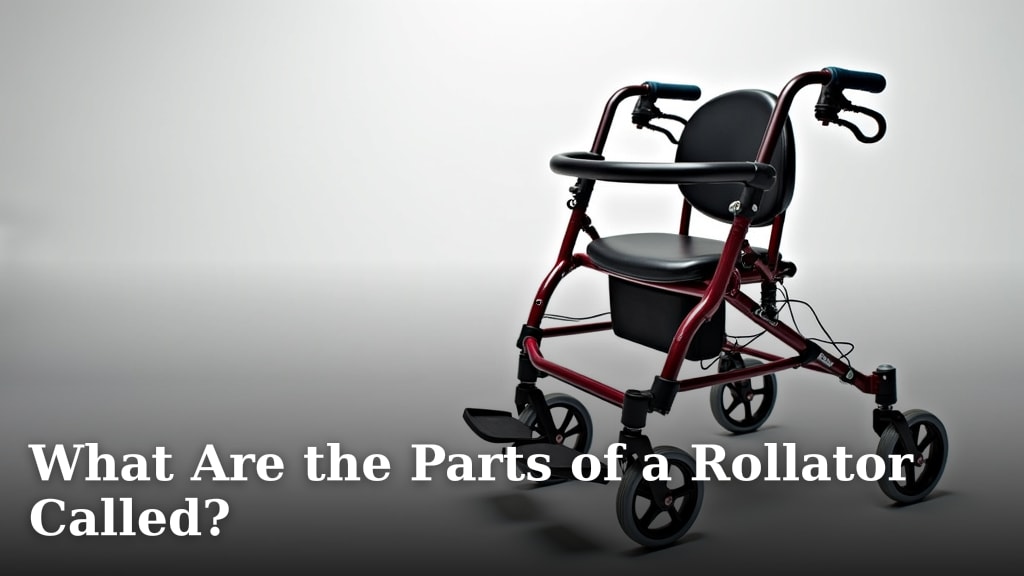
What Are the Parts of a Rollator Called?
The different parts of a rollator are generally called the frame, wheels, handle grips, and brakes. Your rollator is designed with these key components to help you move safely and independently. Understanding each part can help you use your mobility aid more effectively and care for it properly.
Many people wonder about the specific names for each section of their walker with wheels. Knowing these terms can make it easier to understand instructions or ask for help when you need it. It’s helpful to know the basic parts, like the seat and the storage bag, too.
- Rollators have a frame, wheels, grips, and brakes.
- The seat and storage bag are other common parts.
- Knowing these names helps you use your rollator better.
- It also makes it easier to talk to support staff.
Let’s take a closer look at each part and what it does for you.
Understanding Your Rollator’s Components
Your rollator, also known as a walker with wheels, is a fantastic tool for mobility. But do you know what each part is called? Knowing the names of these parts can help you use your rollator more safely and make it easier to ask for help. We’re here to guide you through each piece, from the sturdy frame to the easy-to-use brakes.
The Foundation: The Frame
The frame is the backbone of your rollator. It’s the main structure that holds everything else together. Think of it like the chassis of a car. It provides the essential support you need to stand and walk.
Most rollator frames are made from lightweight yet strong materials like aluminum or steel. This makes them sturdy enough to support your weight but also manageable to lift and maneuver. The height of the frame is often adjustable. This lets you set it to a comfortable level for your height. Proper adjustment is key for good posture and less strain on your back and shoulders, as recommended by many physical therapy guidelines.
What Makes Up the Frame?
The frame itself is usually made of several connected tubes. These form the legs and the main body. Many rollators have a crossbar design. This offers extra stability. Some frames also have built-in features like carrying handles. These can be handy when you need to fold the rollator for transport or storage.
Getting Around: The Wheels
The wheels are what give your rollator its name and its freedom to move. They allow you to roll along smoothly, rather than lifting a traditional walker. This takes much less effort and is gentler on your joints.
Rollators typically have four wheels. Two are usually in the front and two in the back. The size of the wheels can vary. Larger wheels generally roll over obstacles like small bumps or thresholds more easily. Smaller wheels are often found on more compact or indoor models. We found that many users prefer larger wheels for outdoor use. They provide a smoother ride on varied surfaces.
Front vs. Rear Wheels
Often, the front wheels are larger and swivel. This allows for easy turning and maneuverability. You can guide your rollator around corners with minimal effort. The rear wheels might be smaller or fixed. Some models have larger rear wheels for added stability. The design ensures you can move confidently in different directions.
Your Connection Point: The Handle Grips
The handle grips are where you connect with your rollator. These are the parts you hold onto as you walk. They are designed for comfort and a secure hold. Good grips can prevent your hands from slipping, especially if you tend to sweat.
Handle grips are often made from ergonomic materials. Common choices include foam, rubber, or padded vinyl. These materials provide cushioning and reduce pressure on your hands and wrists. Many grips are contoured to fit the natural shape of your hand. This helps prevent fatigue during longer walks. We’ve seen many different grip designs, and comfort is a common theme among users.
Adjusting the Height
A very important feature is that the height of the handle grips is adjustable. You can raise or lower them to match your personal height. The ideal height is usually when your elbows are slightly bent while you’re standing straight. Proper height adjustment is critical for maintaining good posture. It prevents you from hunching over. This can lead to back pain, as noted in several mobility aid best practice guides.
How to Adjust the Height
Adjustment usually involves a push-button mechanism. You’ll see a series of holes on the frame near the handles. You press a button or pin to allow the handles to slide up or down. Once you find the right height, release the button, and it will lock into place. Always check that both sides are at the same height and securely locked before use. Double-check this every time you adjust them.
Stopping and Staying Put: The Brakes
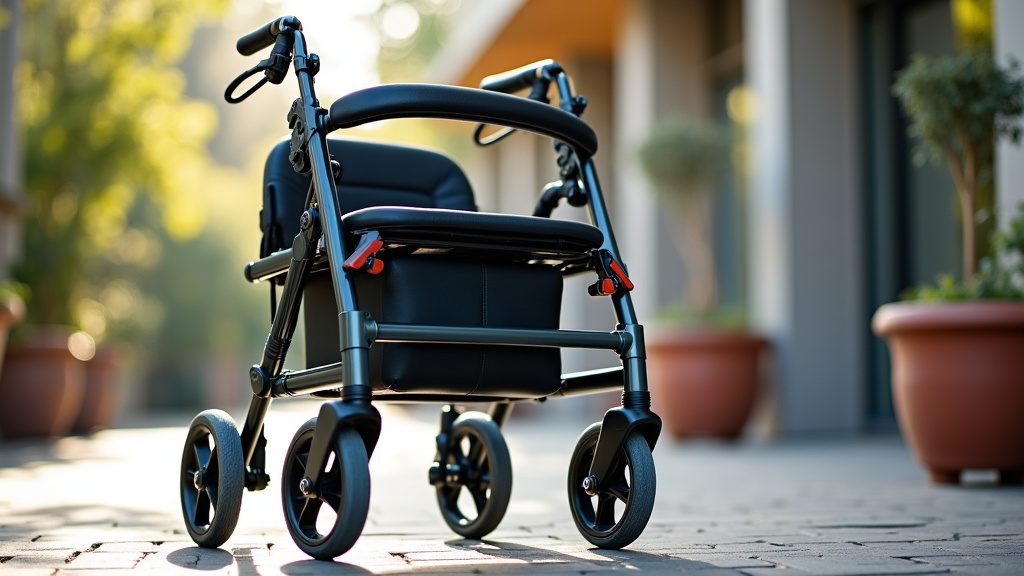
The brakes are a vital safety feature on any rollator. They allow you to slow down, stop, and keep your rollator from rolling away when you are seated or standing still. Knowing how to use them properly is essential for your security.
Most rollators have hand brakes, similar to those on a bicycle. These are levers located near the handle grips. You squeeze them to engage the brakes. The intensity of your squeeze can control how quickly or slowly you stop. We found that it takes a little practice to get used to them.
Types of Rollator Brakes
There are typically two main types of hand brakes:
- Push-down brakes: These are common on many rollators. You push the lever down with your fingers to engage them. Some models require you to pull them up to release.
- Lever-style brakes: These work more like bicycle brakes. You squeeze the lever towards the grip to apply the brakes. Releasing the squeeze disengages them.
Some rollators also have locking brakes. These are designed to hold the rollator firmly in place. This is especially useful when you want to sit on the seat. You engage them by pushing the brake lever down until it clicks and locks. To release, you usually pull the lever back up. Always ensure the brakes are fully engaged before sitting down. This is a key safety step often highlighted by mobility device manufacturers.
Comfort and Convenience Features
Beyond the core components, rollators often include features for added comfort and convenience. These can make a big difference in your daily use.
The Seat
Many rollators come with a built-in seat. This provides a convenient place to rest when you need a break. The seat is usually made of a sturdy material like plastic or padded fabric. It’s designed to support a safe amount of weight. Always check the weight capacity specified by the manufacturer.
When using the seat, it’s important to engage the brakes fully. This prevents the rollator from rolling while you’re sitting. Sitting down should be done carefully, ensuring the rollator is stable and the brakes are locked. This is a common recommendation from occupational therapists.
The Storage Bag
A storage bag or basket is another popular feature. It allows you to carry personal items with you. This can include your purse, groceries, a book, or medication. Bags are typically made of durable fabric and attach to the frame, often under the seat or on the front.
It’s important not to overload the storage bag. Exceeding the weight limit can affect the stability and maneuverability of your rollator. Keep the weight balanced to ensure it doesn’t pull the rollator to one side. Think of it like carrying a backpack – keeping the weight centered helps you stay balanced.
Other Accessories
Depending on the model, you might find other helpful accessories. These can include:
- Cup holders: For carrying a water bottle or coffee cup.
- Cane holders: A secure place to attach a cane when not in use.
- Lights: For added visibility in low-light conditions.
A Quick Checklist for Your Rollator Parts
Here’s a handy list to remember the main parts of your rollator:
- The main support structure: Frame
- Parts that help you move: Wheels
- Where you hold on: Handle Grips
- To stop and secure: Brakes
- For resting: Seat
- For carrying items: Storage Bag
Conclusion
You now have a clear understanding of your rollator’s main parts. You know the frame provides support and the wheels allow easy movement. You’ve learned about the importance of the handle grips for comfort and the brakes for safety. Plus, you know how the seat and storage bag add convenience to your daily life. Understanding these components empowers you to use your rollator confidently. Take a moment today to review each part on your own rollator. Ensure everything is adjusted correctly for your comfort and safety.
Frequently Asked Questions
What is the difference between a rollator and a walker?
A traditional walker requires you to lift it with each step, while a rollator has wheels that allow you to simply roll. Rollators also commonly feature a seat and hand brakes, which traditional walkers typically do not.
How do I know if my rollator’s handle grips are at the right height?
The correct height is usually when your elbows are slightly bent at about a 15-degree angle while you’re standing up straight and holding the grips. We found this position helps you maintain good posture and reduces strain on your back and shoulders.
Can I use my rollator’s seat if the brakes aren’t locked?
No, you should never sit on the seat unless the brakes are fully engaged and locked. This is a critical safety step to prevent the rollator from rolling away while you are seated.
What should I do if one of my rollator’s wheels seems wobbly?
If a wheel feels wobbly, it’s best to stop using that part of the rollator immediately and have it inspected. Often, a loose bolt or a damaged wheel can cause this, and it needs professional attention for safe operation.
Are there different types of rollator brakes besides hand brakes?
While most rollators use hand-operated brakes, some specialized models might have foot brakes or parking brake mechanisms. However, the common push-down or squeeze-lever hand brakes are what you’ll find on most standard rollators for slowing and stopping.